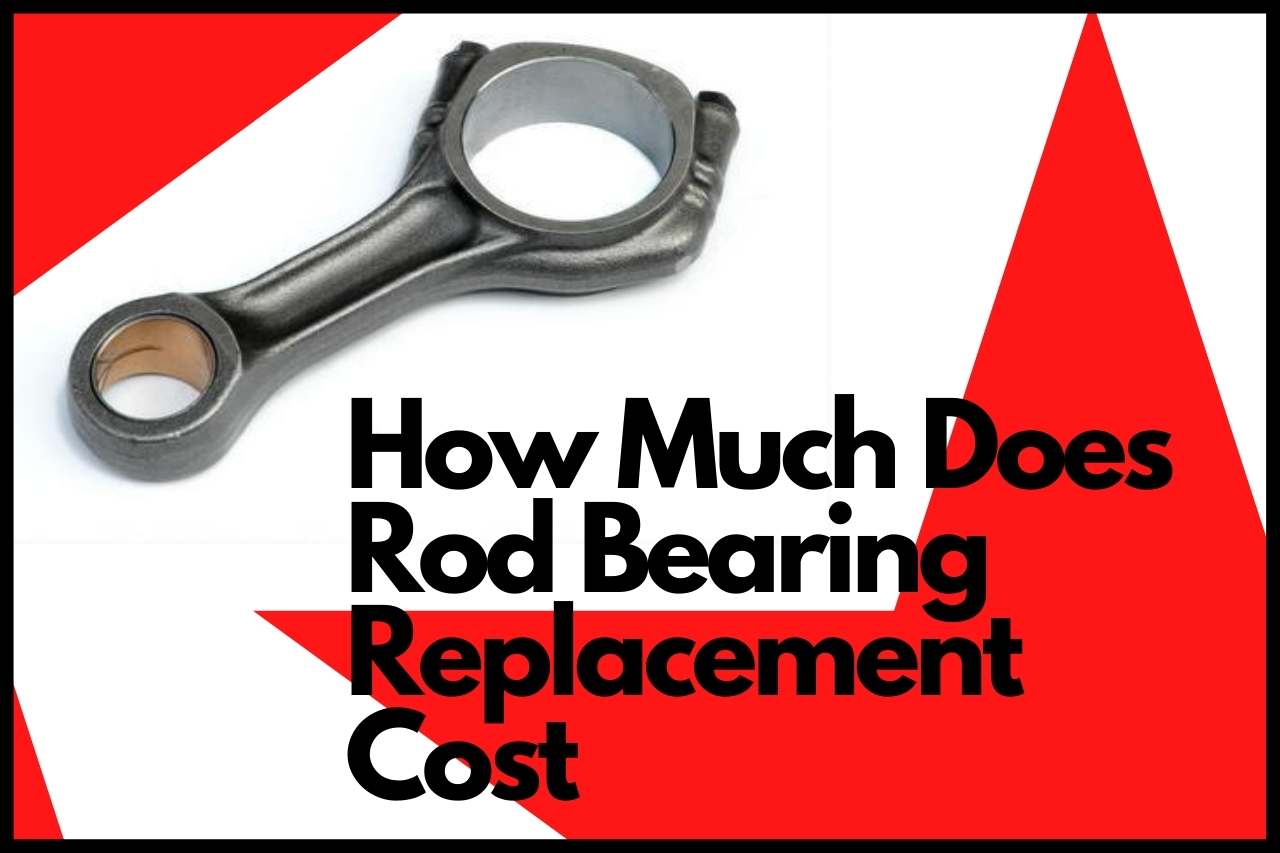
How Much Does Rod Bearing Replacement Cost? Full Report
A rod bearing is among the less well-known parts of any vehicle engine. If any rod bearing has an issue, you must fix or repair it immediately. Otherwise, your motor might not even start. The rod bearings are described in this post, along with their replacement procedures and associated rod bearing replacement cost.
Quick Response
How Much Does Rod Bearing Replacement Cost? The typical price to fix or restore a motor rod bearing seized is about $2,000. Both components and labor are included. Several components, including seals, cylinder screws, motor pipes, cylinders, and crankshafts, as well as others, will need to be replaced.
What Is Rod Bearing?
Contrary to a metal ball, which has tiny balls supporting peripherals, the connecting rod bearing would be a simple bearing that rotates the connection rod even as the crank spins using only friction plus oil flow.
The rotating shaft is held and supported in the area where it requires support by a rod bearing. A puncture at the top of the rod bearings allows lubricant to enter the inside of the bearing. Additionally, it reduces friction inside the bearing and permits unrestricted movement of the crankshaft.
All of that is done to guarantee that the rods stay upright throughout the combustion process. There are only a few of the numerous components and elements that make up an engine. Every one of these components is housed within the car’s engine cylinder.
What Is the Rod Bearing Replacement Cost?
Rod bearings replacement expenses range from $2,000 to $3,000 on average. This now involves elements and work inside this “rod bearing replacement cost.” It comprises the required substitutions, engine bearing deterioration, and noise brought on by the problematic engine bearing.
The motor may occasionally require a new shaft. However, if the loss is more severe, you might also need to repair more components. The expense of replacing these might be high.
What Causes Damages to Rod Bearings?
Here are a few things that put make rod bearings vulnerable.
1. Trash and rubbish
In order to precisely describe the sound of the motor bearings, if it is poor, you must first be aware of how the bearing sounds, such as when it is covered in dirt or is contaminated.
2. Insufficient Lubrication
Inadequate chassis lubrication might result in a failed engine and high repair costs if your bearings seize up. Additionally, there would also be a significant amount of friction and metal-on-metal contact due to a lack of lubricant.
3. An incorrect engine is bearing assembly
There’s a good chance that the bearings won’t function properly and will, in the end, lead to insufficient lubrication even when a connecting rod with a bearing cover is placed improperly. As a result of the absence of oil, your engine bearings will also make noise.
4. Crusher of engine bearings
When any bearing’s two halves are appropriately positioned, a crush is created when any of the bearing’s parts applies an external influence that passes through the top chamber bore. The bearing’s external size is pressed up against the container bore by this bearing. The vehicle’s bearing works well, thanks to the crushing of the joint.
Indications Of A Failing Rod Bearing
Do not take things lightly if you notice the following indications.
1. Oil-dipped shavings of silver
Tiny flakes are indeed the minute, metal mesh fragments that are left over after a rod bearing fails or after a rod that already exists in position but is out of alignment. The motor oil within the vehicle engine may include silver flakes if a rod bearing is damaged.
2. Motor smacking sound
A noticeable “Knocking” sound would’ve been made if the rod bearings were wearing out, damaged, or failed since this would result in the rod striking the shaft.
3. The hazard lights are on
On occasion, a damaged rod bearing might result in panel hazard lights turning on. Due to insufficient oil pressure brought on by the exhausted or damaged rod bearings, the oil test light could come on.
What Exactly Does Replacing A Rod Bearing Entail?
An essential part of any engine is the rod bearings. When detaching all linking rods out from the shaft for rod bearings installation, the motor must be extensively disassembled. To prevent mismatches, it’s essential to maintain all connecting rods with bearing tip covers tight.
The removal and reinstallation of the bushings are actually pretty simple when you reach this stage. You should regularly wipe the bearing surfaces with a lint-free towel to maintain them clear of dirt and grime, which can lead to cause trouble.
When it’s time to swap out the bearings, insert one of them into the stopper and another into the large end of the rod. To provide adequate oil level, the notches on either end of a bearing should be queued up oppositely. Additionally, to prevent loose movement, the bearings must fit firmly inside the connecting rod.
To remove the axle from the rod’s tiny end, use a push. After attaching the fresh rods to the crankshaft, secure the nuts. Hinge pins, piston poles, plus crankshaft bolts should all be replaced by utilizing engine assembly lubrication. Ensure that everything is tightened up in accordance with the company’s precise torque recommendations.
How To Install Rod Bearings Correctly?
1. Take away the interconnecting rods
When any connecting rods aren’t already detached from its valves and crank, take them out. All clips should be taken off. After that, remove the wrist pin from every rod’s pistons by sliding it out. Your rod would loosen after doing this.
2. Take out the old bearings
Pick up a hammer & one screwdriver. At the point in which each line reaches the tip of the cover, tap upon that edge of every rod.
3. Wipe the area clean
Following the initial procedures, you must use a lint-free cloth to wipe each surface. Look closely to make sure there is no debris on the surfaces.
4. Bearings should be moved
The rod’s large end should now have a bearing inserted into it. Once it is done, put a bearing inside the stopper. When all is properly fastened, a ring would emerge and proceed from around the crank.
5. Pay attention to the bearing
You must squeeze out another bearing that is situated upon that rod’s short end. Try to complete the process using a socket when you do not have a push. After tapping the bearing off, press a fresh one.
6. Set up the rods
All rods must be mounted upon that crank, and that’s all. Using the manufacturer’s instructions, adjust the rods.
Similar Articles: